Showing posts with label Halloween. Show all posts

Thursday, October 13, 2011

Halloween Wreaths

I keep forgetting to post this!
I made a couple of spooky wreaths a few weeks ago using nothing but some standard craft store finds. Wreath base, black spray paint (which I always have on hand!) silk roses and, of course, some Stampin' Up! striped grosgrain ribbon.
It was super duper easy to put together and will be haunting my Halloween door for years and years to come. Yay!

Here's the oval one I made for my sister, which is perhaps, just a bit spookier than the round one.
Update: This wreath was re-hung so the ribbon isn't being stretched out but we were anxious to get it up there and have a look. And my sister lives 30 minutes away and its not like I ever see her to get a new picture or anything...

And a close up of the bow and flowers.
I love how the flowers retained just a hint of red so they sort of look dried.
Have I mentioned I love spray paint?
Well I do.

Monday, October 10, 2011

200th Post and Blog Candy!


I can't believe this is my 200th blog post. Wow! When I started I had no idea this would be such a great creative outlet for me. I love it and I can't wait to see what the next 200 posts bring!

In honor of this occasion, I have some BLOG CANDY to give out! Yay!!!
This is a pack of 24 6"x 6" pieces of double sided Halloween paper PLUS a 15 yard spool of 5/8" grosgrain ribbon.

And because this is my 200th blog post, I'll 2 give of them away!

All you have to do to win is leave me a comment 
AND be a follower!
Contest will stay open til Sunday October 16th at 11:59 PM

Please play along!!!

Only in the continental United States please.

Wednesday, October 5, 2011

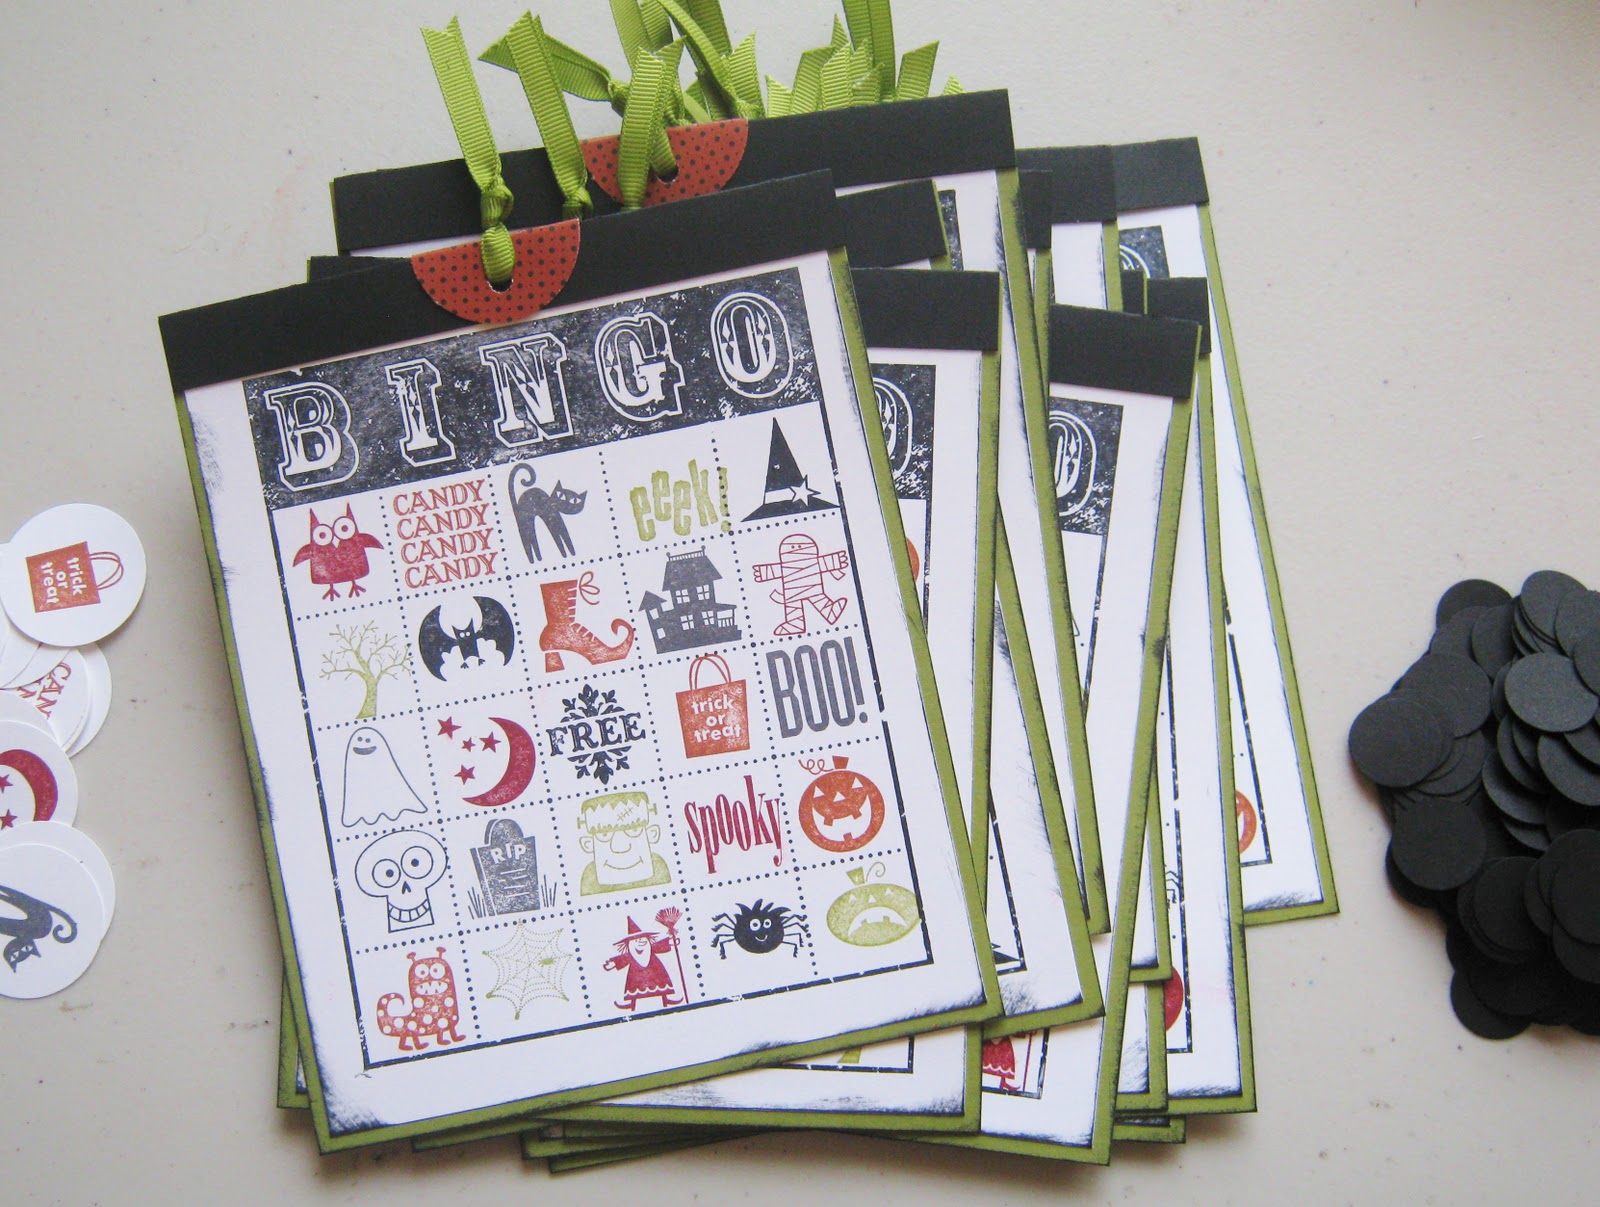
Halloween Bingo!

BINGO!!!

I made these up for my class tomorrow night.
And while they are super cute and BINGO is just about the best game ever...

...they are a pain to make!
I used:
* Bingo Card and Spooky Bingo Bits stamp sets
* Cherry Cobbler, Cajun Craze, Basic Black,  Black Stayz On, Basic Grey, Old Olive and Whisper White
* Frightful Sight Designer Paper
* 1 3/8" circle punch
* Crop-O-Dile
* Old Olive 1/4" grosgrain ribbon

Wednesday, September 28, 2011

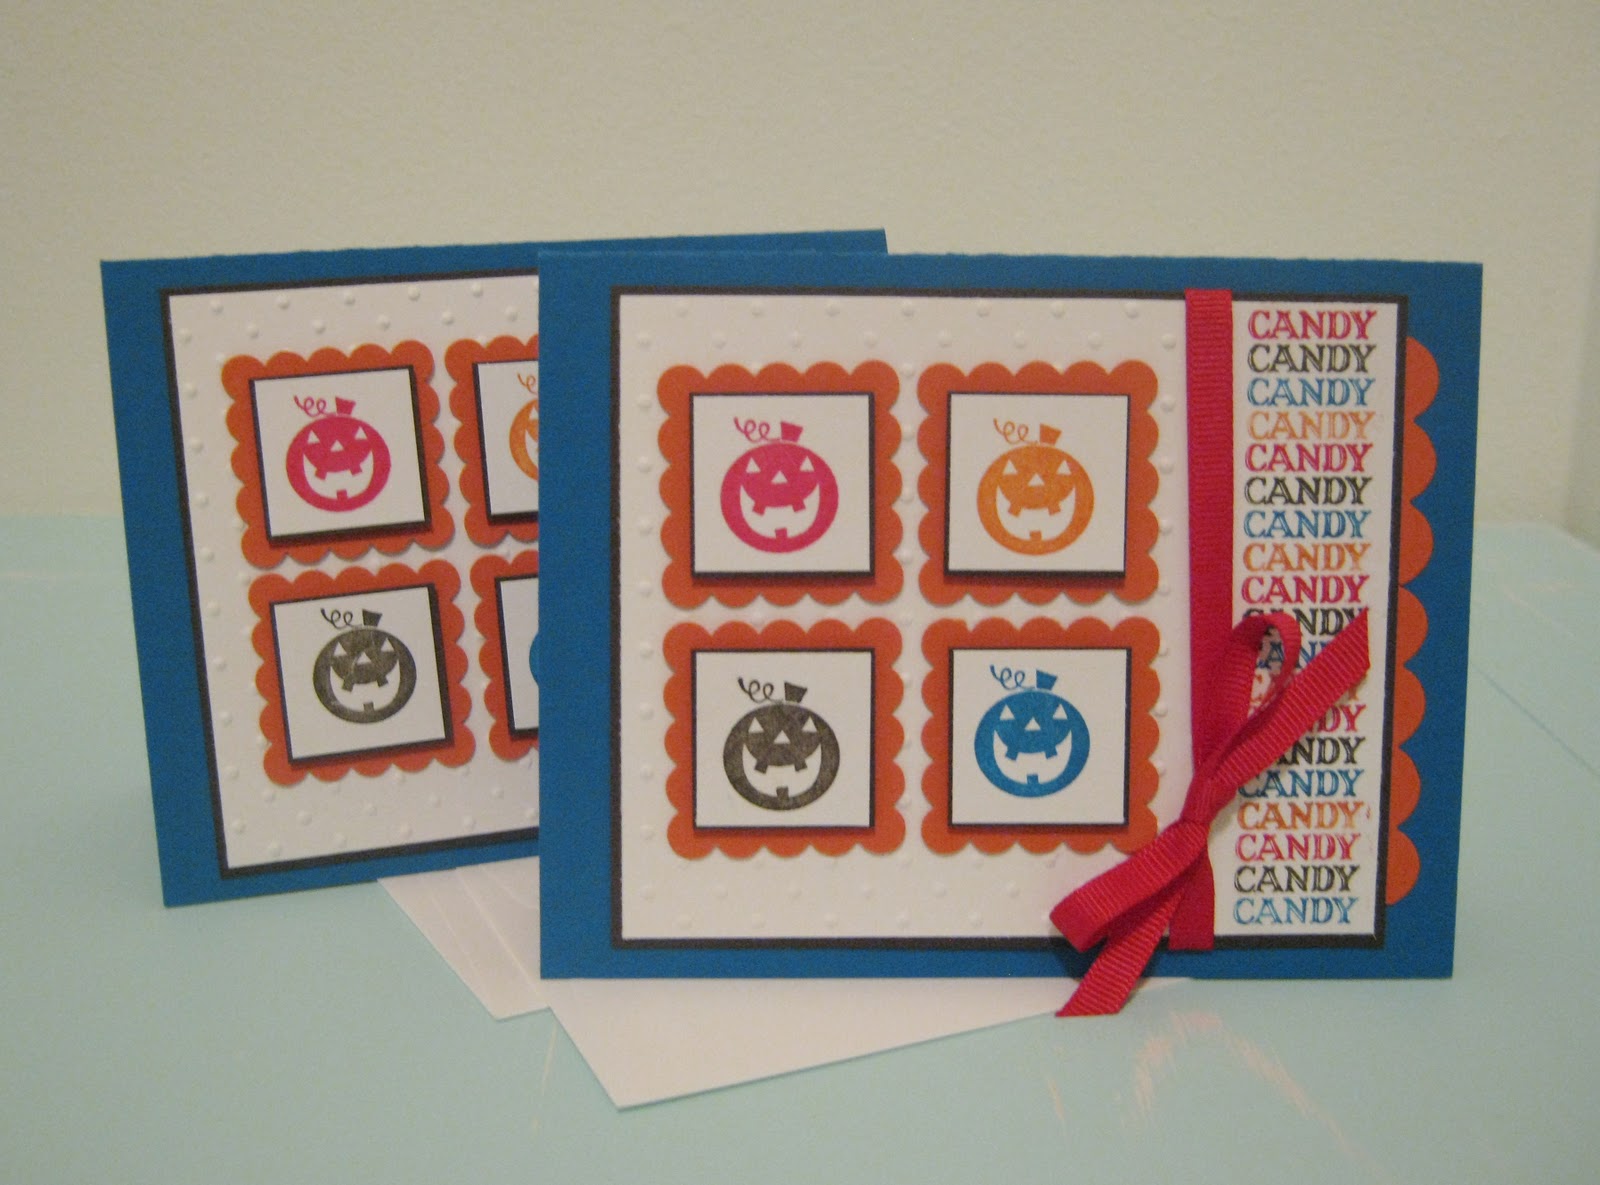
CANDY CANDY CANDY CANDY

This is a sample of some swag that will be part of the Fall for Stamping Class.
How much do you love Mini M&M's???

I know I do!  
 Because the M&M's come in such great colors and I had so much fun making the little tags for each treat bag... I had to make some cards to go with them!
So fun right?

And after that it was all over for the Reese's Pieces!
Not only are they delicious, they're also great inspiration!


I used: (Top Card)
* Spooky Bingo Bits stamp sets
* Pacific Point, Real Red, Tangerine Tango, Early Espresso and Whisper White
* Scallop Square Bigz Die
* Scallop square punch
* Real Red 1/4" grosgrain ribbon
* Polka Dots impressions folder


I used: (Bottom Card)
* Spooky Bingo Bits and Teeny Tiny Wishes
* Daffodil Delight, Tangerine Tango and Early Espresso
* 1 1/4", 1 3/8", Scallop Circle, Word Window, Modern Label punches
* Linen Thread
* Antique Wallpaper impressions folder

Friday, September 16, 2011

Fall for Stamping

Let's Fall for Stamping Together!

Thursday October 6th at 6:00 pm
or
Saturday October 8th at 10:00 am

Cost of Class: $20

Price includes all supplies and adhesives, treats/lunch, games and prizes!!!
(Special gifts for new friends and anyone who brings one!)


You'll make:

 Three of these charming little goody matchboxes (with chocolates!) perfect for Visiting Teaching, teacher gifts, a quick thank you...etc!


Two of these deceptively simple Trick or Treat cards. Great as a Halloween card, a party invitation,  an October birthday or even a creepy thank you card!

And look at the inside of the card and the envelope!!!

And lastly, two of these lovely autumn thank you cards. Beautifully easy to create with some cool techniques that are fun for beginners and experienced stampers.

No hand cutting OR coloring anything!

Space might be limited so be sure contact me if you'd like to come!

Call or text: 253-315-3701
Email: natdeckerAThotmailDOTcom
or
Leave me a comment!

Thursday, August 18, 2011

Boo! Card for the PPA


I just have a quick post tonight of a fun Halloween card I made for the Pals Paper Arts Sketch Challenge. I know its still August and way to early for Halloween, but I am so done with summer that I don't even care. Heck, I even love all the Christmas displays that are out at all the craft stores. Jingle Bells anyone?
All the stamping on this card is embossed a nice shiny black but besides that everything else is super easy.
I didn't even do any distressing or use my Big Shot.
Weird, I know.

Here is the Sketch. So fun right?
Ppa sketch 

I used:
* Spooky Bingo Bits and Tiny Tags stamp sets
* Old Olive, Cajun Craze, Basic Grey, Whisper White  and Basic Black card stocks
* Frightful Sight designer series paper
* Versamark ink
* Black embossing powder
* Embossing Tool
* Black Striped Grosgrain ribbon (so cute!)
* Baker's Twine
* Jewelry Tag punch

Monday, August 1, 2011

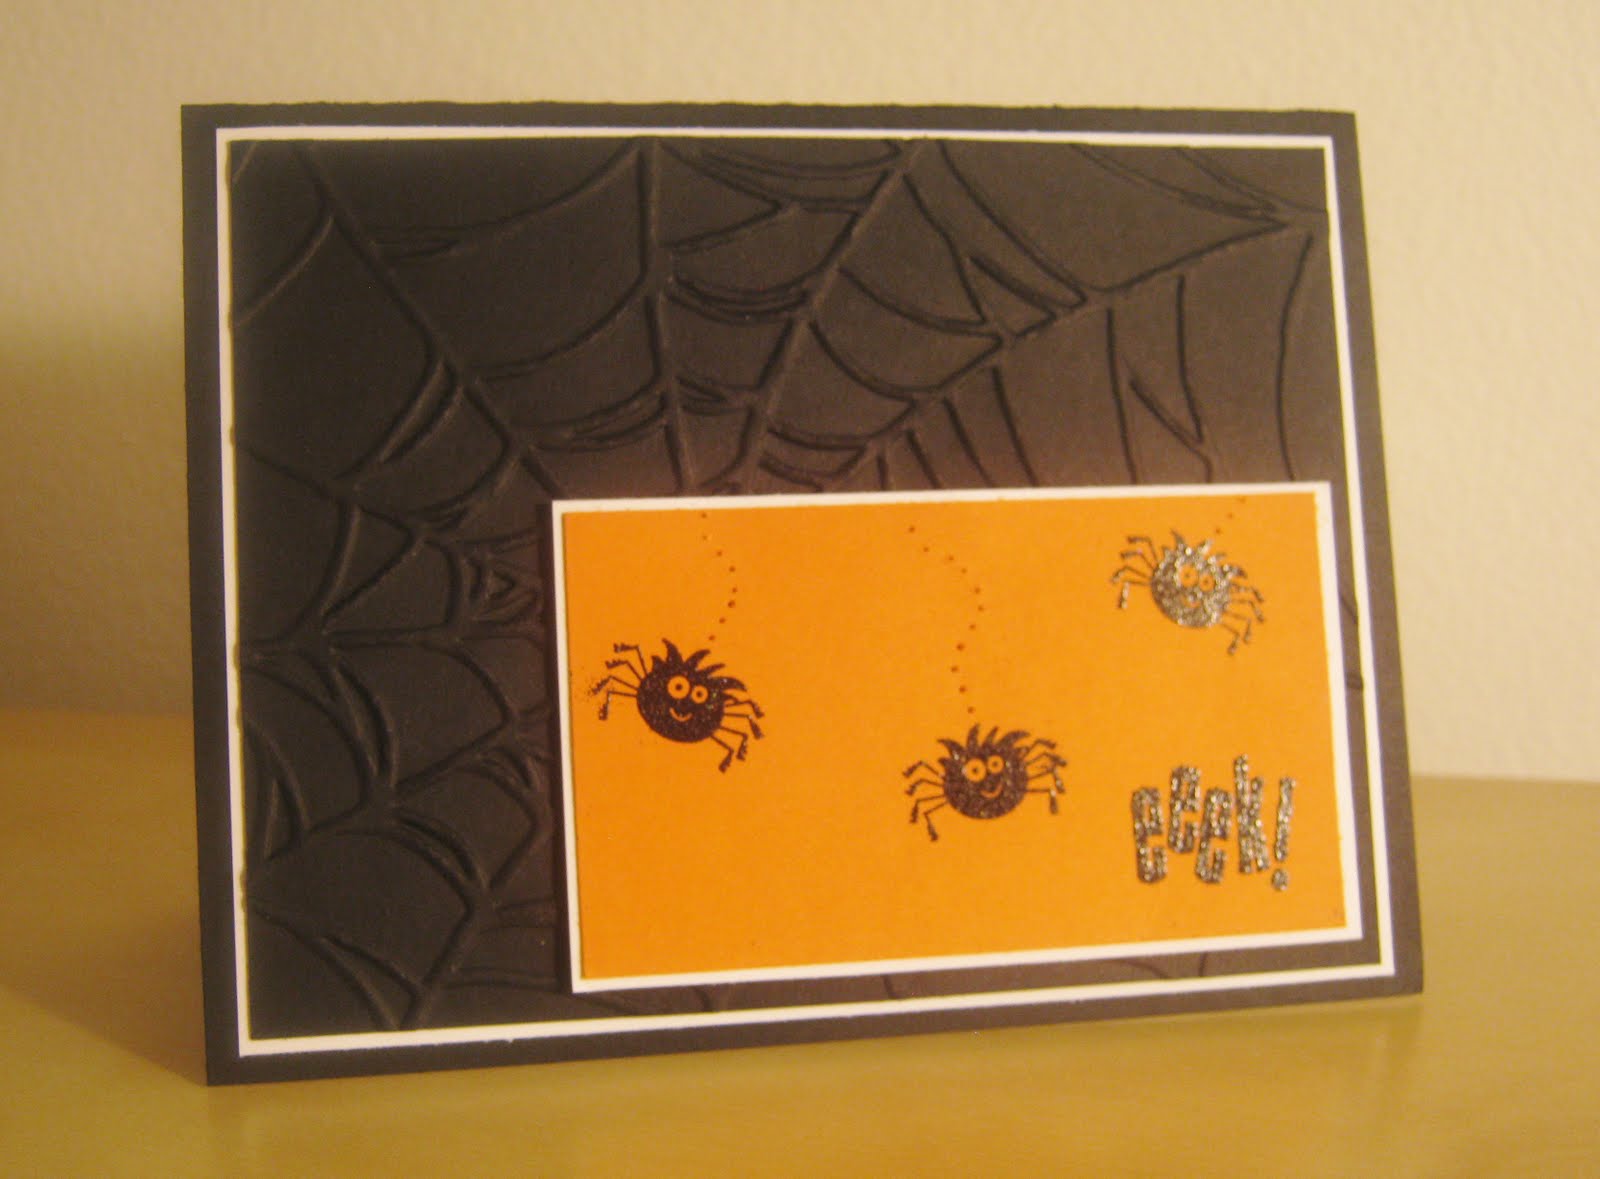
Spooky Bingo Bits, Wild Tarantula and PPA 104!

Is everybody ready for Halloween???

No? Me neither. But I found this in my garage this morning:
It is a tarantula from the hill behind my house. We'll be moving soon. To Antarctica.
So anyway, (shudder) I made this card as therapy to help me calm down a little.
Sadly, I don't have any stamps that say:
"AHHHHHH!!!!KILL IT!!!KILL IT!!!AHHHHHH!!!  IT MOVED!!!AHHHHHHHH!!!!
So I had to settle for "EEK!"
I'm also playing along over at the PPA with today's post. The challenge for the week is all about paper piercing, which until today I was drawing kind of a blank about. So thank you Mr.ScariestSpiderI'veEverSeenWhileNotAtTheZoo for your inspiration. And also for dying. Eventually.

It's hard to capture both the paper piercing AND embossing at the same time in pictures but this one does a pretty good job.

And of course the inside has another embossed spider, just waiting to jump out at you! AHHHH!!!

And because I was having soooo much fun poking holes in my cards, I couldn't help but to make a little ghosty card too! He's so much cuter than a spider!!!
To make the ghosty shape, I just hand drew a ghost (patterned after the ghost in the Spooky Bingo Bits set) the size I wanted onto some scratch paper, used a small amount of snail adhesive to hold the outline paper to my Whisper White card stock and then poked round the outline. Then I used a clean eraser to remove the extra adhesive. So easy and fun!

I used:
*Spooky Bingo Bits stamp set
*Basic Black, Whisper White and Pumpkin Pie card stock
*Versamark Ink
*Black embossing powder, embossing buddy and heat tool
*Large Safety Pin
*Spider Web embossing Folder

Saturday, October 30, 2010

Happy Halloween!!!!

I almost forgot to post these grrrrreat pictures of my little guy and the card we made together for his Grandma and Papa.
Here you see his "normal" face while modeling his card:

I think this might be a pirate face? Maybe?

And...the scary face. I just couldn't decide on one.

And finally, the card.
He was so excited to make this and give it to his fantastic grandparents ( love you Mom and Dad!)

 I just hope he keeps stamping with me for at least a little while longer!

Monday, September 13, 2010

Wicked Cool

Welp, this wraps up my Halloween posts. I hope to post all of my fall/Thanksgiving stuff this week so next week, I'll be moving on to Christmas! Is everyone else as excited as I am????

This is the card we made at club last week featuring the Wicked Cool stamp set, which I love.
One thing I've notice this Halloween, is that it's all about the bling. From glitter to shimmer paint to rhinestones, I hardly see any Halloween projects that don't have a bit of the old sparkle and this card is no exception!
For marital reasons, I try to limit my glitter use to Christmas only, so it shows how dedicated I am to my club ladies that I risked jeopardizing my 9 year marriage for them. And you know what? I'm not sure my glitter hating husband even noticed!!!


This card is a 4 1/4" square. It's a size I make pretty often because it gives a different look from the regular A2 card, but still fits in an A2 envelope. Win win!
Here's the inside.
I used:
*Wicked Cool stamp set
* Rich Razzleberry, Basic Black and Whisper White card stock
* Black Stayz on ink
* Basic Black, Rich Razzleberry and Daffodil Delight markers
* Rich Razzleberry 5/8" grosgrain ribbon
* Basic Rhinestones
* Scallop Square punch
* Liquid glue and Dazzling Diamonds

Friday, September 10, 2010

Little Witch!!!

I can't even really explain why I like this little witch so much, but from the moment I saw her, I was in love!!!

I made the little bag first, then I thought I should make a coordinating card, and then I made the little box for club. I probably had way too much fun with this project. Oh well!
Here is the little box we made at club. The pattern I used is a 2, 5, 7, 10 box that I slightly modified.

After following the tutorial, you might see how you could make the box without the flap, or a little bit shorter than specified, which is what I did. I actually made two of these little boxes from one sheet of card stock. What I did was:
- score my card stock at 2, 5, 7, and 10 inches (just like the tutorial),
- cut it in half lenghtwise at 4 1/4" (not like the tutorial)
- score that side at 2"
At this point I follow the rest of the instructions for cutting the flaps and completing but it turns out to be a lot easier than that whole flap nonsense!
If you have questions, email me or leave a comment. I'm happy to help!
And then it just needs decorated however you like. I love making this box because it only takes a half a sheet of cardstock and you don't need anything fancy to make it. Just a cutting blade and scoring tool. Yay!

Inside the box I used a:
*Medium size cello bag from Stampin' Up! that I stuffed full of taffy. Yum!
(Sorry club ladies!!!)

Here is the matching card I made.

And then last bu not least, the sweet little baggie I made using a Mini Lunch Sack. Love these!
For the words on the bottom I used:
*Word window Punch and Modern Label Punch

For all of the Projects I used:
* Greeting Card Kids (witch), Wicked Cool (bats) and Teeny Tiny Wishes (words) stamp sets
* Black Stayz On and Pumpkin Pie Classic ink
* Crumb Cake (color formerly known as Kraft), Whisper White, Basic Black and Pumpkin Pie card stocks
* Stampin' Pastels and Blender pens
* Pumpkin Pie 1/8" Taffeta ribbon
* Circle Scissors plus (to cut the circles)
* Perfect Polka Dot and Square Lattice impressions folders

Thursday, September 9, 2010

Halloween Party (Part 2)

So after sleeping (a little) I feel much more able to post all of this!

For this whole post I used:
* Wicked Cool and Teeny Tiny Wishes Stamp set
* Basic Black and Whisper White, Old Olive and Rich Razzleberry
* Black Stayz On ink
* Frost White Shimmer Paint
* Spider Web Impressions Folder

When I used other supplies I'll post them below the pictures.

I took this candy bowl to club last night so the ladies could all take a treat. I hope they liked them!
Here's what was in the bowl:

York Peppermint Patties
I used:
* Lots of Tags sizzlits dies
*Wide Oval Punch
*Black Satin Ribbon

I used:
* Lots of Tags sizzlits dies
* Rich Razzleberry 5/8" grosgrain ribbon
* Linen thread

I used:
* Word Window and Modern Label Punch
* Black Satin Ribbon


Here is the card I made with the Web folder. I LOVE it. And I love the antique brads!
There is another of this same card below without the shimmer paint.
I used:
* Rich Razzleberry 5/8" Grosgrain Ribbon
* Antique Brads (LOVE!!!)
* Old Olive, Rich Razzleberry and Basic Black markers


Same card but without the shimmer paint on it. I think its still super cute, but I like the web with the shimmer paint better. You?

Wednesday, September 8, 2010

Halloween Party! (Part 1)

I know I haven't been posting much lately but I assure you, it's not because I have not been stamping! I've been going a little crazy in the Halloween department, and over the next week, you should see what I mean!
Today's post is the first half of the Halloween Party stuff I've made. I'm not actually having a party, but if I was, I would totally use all this stuff!
It's times like these that I'm glad I have a bright green table.

Here's a bottle of Jones Soda, decorated to look like witches brew. I love it!
I used a strip of 8 1/2" x 3 1/2" card stock (that I textured with the spider web folder) to cover the label and then just added ribbon and a tag. Very simple.

Close up of the tag.

My wall is shockingly boring. Sorry.
This was so easy to make! I just went to a craft store and picked up this inexpensive frame, took the backing out and adhered the decor element to the glass. I added some ribbon for extra fun, but it's not necessary.

Here it is on my green table again. Ah, life is so much better in color isn't it?

Stay tuned for tomorrow's post where I'll list all the supplies I used to make these fun projects!